| Installation |
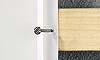
| PVC Panels are easy to install. Provided the wall surface is perfectly flat, you may glue the panels to the wall. If not you can either staple, nail or screw the boards on wooden battens. In rooms with a high humidity treated wood and stainless fixation should be used. Extra isolation can be installed between the battens.
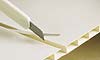
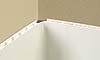
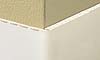
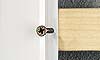
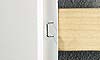
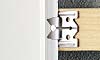
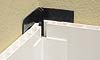
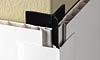
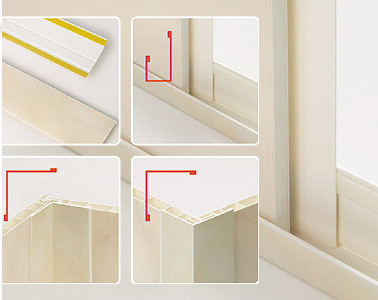
1.In case you decide not to glue the panels to the wall, you start by placing the wooden battens approx. every 30 cm. To install the panels vertically, place the battens horizontally and vice versa. 2.Continue by measuring the number of panels you will need for the wall or ceiling. If the last panel is too narrow, we advise to saw the first panel so that you have at least 4 cm on either side. 3.When using profile n° 91 as starter trim, first remove the short end of the back T-shaped clip. Place the remaining L-shaped part around the area you want to decorate. Install the first panel, making sure that it is placed perfectly vertical before fixing it to the wall. (We recommend using a spirit-level or weighted thread). Panels are easy to fix by stapling, nailing or screwing the lip onto the batten (every 30cm). Allow for a 5 mm clearance between the panel and the starter trim. We recommend a fine-tooth saw for cutting panels and profiles to size. 4.To continue installation, insert the second panel into the designated groove of the first panel. Once again, we recommend checking the vertical position of the panels as you go along. Continue to do so, until the whole surface is covered. As a multi-functional profile, profile n° 91 can also be used as internal corner. Alternatively, internal, or even external corners, can be obtained by bending the panels to the desired angle through a small incision at the back of the panels. (See drawing for overview). Once all panels have been fixed, and the whole surface is covered, clip on the decorative part of profile n° 91 for a perfect result. |
||||||||||||||||||
|
||||||||||||||||||
 |
||||||||||||||||||